


Illustrated Guide to Engine Oil Check and Addition for Stand-on Lawn Mowers
Nanny-level tutorial: Diagram of engine oil check and addition for stand-on lawn mowers
Engine oil is the "blood" of a lawn mower engine! Regularly checking the engine oil level is the most fundamental and crucial maintenance step. Insufficient engine oil can cause severe engine wear and even lead to engine failure; too much engine oil can also impair engine performance. Don't worry! This guide, with high - definition real - shot pictures and detailed steps, will teach you how to safely and correctly check and add engine oil, ensuring that your stand - on lawn mower has powerful performance and a long lifespan. It only takes 10 minutes. Let's get started right away!
1、Why is engine oil inspection so important?
2、Tools Required


Prepare these simple tools for smoother operation: a clean rag, engine oil of the correct model, gloves (optional), goggles (recommended).
Step 0: Safety Preparations! (Crucial)
"Safety first! Be sure to ensure that:"
"✅ The lawn mower is parked on a perfectly level surface."
"✅ The engine is completely cooled! (Wait at least 30 minutes after just finishing using it. There is a high risk of scalding from hot oil and inaccurate measurement.)"
"✅ Pull up the handbrake (if available) and secure the wheels."
Step 1: Locate the Dipstick
Find the dipstick on the top of the engine. It usually has a prominent yellow or orange pull - ring, which is the main access point that you can operate by hand.

Step 2: Pull out the dipstick
Pinch the pull - ring and carefully pull the dipstick straight upwards. Be careful not to let the oil on the dipstick drip everywhere.
Step 3: Wipe the dipstick clean
Use a clean cloth to thoroughly wipe off all the oil stains from the end of the dipstick (the part with markings). This is a crucial step to get an accurate reading!

Step 4: Re - insert the dipstick (do not tighten / do not push it all the way in)
Insert the wiped - clean dipstick back into the tube in the same way, straight and fully, making sure it reaches the bottom. Note: Do not tighten it at this time (if it is threaded) or apply additional pressure!
Step 5: Pull out the dipstick again and check the oil level (Crucial step!)
Pull out the dipstick again. Now observe where the highest point of the oil - soaked mark on the clean part is.
Situation A: The oil mark is between the 'FULL'/'MAX' and 'ADD'/'MIN' markings. ✅ Perfect! No need to add engine oil. Clean the dipstick, insert it back and tighten it (if applicable).
Situation B: The oil mark is below the 'ADD'/'MIN' marking. ❗ The oil level is too low! Engine oil needs to be added. Please continue."
Step 6: Add engine oil (ONLY when the oil level is too low!)
Use a funnel to prevent spills.
Extremely important: Add only a small amount of engine oil each time (such as 1/4 cup or 50 - 100ml)!
Pour it in slowly... Wait for 1 - 2 minutes for the engine oil to flow into the oil pan.
Re - insert and pull out the dipstick to check the oil level. Do not pour directly up to the MAX line!
Key tip: "Patience is key! Add the engine oil in small amounts multiple times to avoid overfilling. Stop when the oil level reaches between 'FULL'/'MAX' and 'ADD'/'MIN'.
Step 7: Completion and Cleaning
After reaching the ideal oil level:
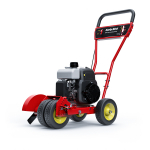
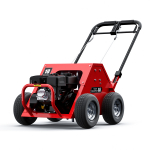
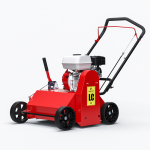
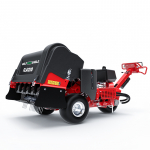
Related Products


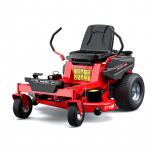
LT-42R
hot selling index

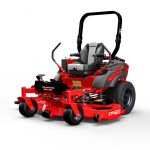
ZTR-62C
hot selling index
